Cobot Integration Step by Step: From Site Survey to Go-Live
What successful cobot integration involves
Cobot integration is the work of turning an arm, tooling, software, and a workplace into a usable production system. The goal is not simply to make a cobot move. It is to help a team complete a defined task reliably, handle exceptions, and maintain the system after handover.
smert.ai is a Hong Kong-based cobot integration and AI consulting company with a lab in Tsim Sha Tsui and a US branch in Delaware. We integrate arms from established makers rather than manufacture them.
This guide follows a practical project sequence, from the first site survey to operational handover. Each stage should produce evidence that supports the next decision.
Step 1: Define the task and its boundaries
Start with one workflow, not a broad ambition to automate a department. Identify what enters the station, what the cobot must do, and what counts as an acceptable result.
For a loading task, document:
- Part dimensions, weight, material, and presentation.
- Required orientation and placement conditions.
- Normal cycle time and production mix.
- Where operators intervene or replenish materials.
- Common exceptions, including missing or damaged parts.
Separate essential requirements from future improvements. A station designed for one stable part family has a different scope from one expected to accommodate frequent changeovers.
Review relevant cobot applications to compare the workflow with established use cases, without assuming the same configuration will suit every site.
Step 2: Survey the actual working environment
A site survey should examine the whole process, not just the space where the cobot will stand. Measure access routes, working heights, machine openings, available utilities, and maintenance clearances.
Observe representative production, including replenishment, cleaning, changeovers, and fault recovery. Ask operators where delays occur and which informal workarounds keep the line running.
Record constraints before choosing equipment
In a compact Hong Kong facility, shared aisles and limited staging space may affect layout more than the nominal footprint of the cobot. Also check floor suitability, lighting, network access, and environmental conditions.
The deliverable should be a survey record with measurements, a preliminary layout, permitted site photos, and unresolved questions. Avoid final equipment selection while critical dimensions remain assumptions.
Step 3: Establish a baseline and business case
Measure the current process over representative operating periods. Record throughput, operator involvement, downtime, changeover effort, and rework handling. Distinguish observations from estimates.
Then estimate the complete project cost: the cobot arm, tooling, fixtures, guarding where required, controls, integration, installation, training, and ongoing support. Include consumables and expected maintenance activities.
Use the total cost of ownership estimator as a planning aid, then replace assumptions with site-specific data and supplier quotations.
Compare conservative, expected, and higher-utilisation scenarios. The business case should remain understandable if demand changes or implementation takes longer than planned. Do not treat redeployed operator time as an automatic payroll saving.
Step 4: Assess risks before finalising the design
Safety depends on a per-site risk assessment covering the complete application. An arm's built-in functions do not, by themselves, establish that a finished station is safe.
Assess hazards involving the tooling, workpiece, adjacent machinery, access points, and foreseeable misuse. Consider normal operation alongside setup, cleaning, maintenance, and recovery after a stop.
ISO 10218 and ISO/TS 15066 are standards integrators assess against where applicable; they are not a safety guarantee. The assessment should determine the operating concept and required protective measures.
Document who is responsible for the assessment, implementation, verification, and approval. Revisit the assessment when the layout, task, tooling, or operating conditions change.
Step 5: Select the arm, tooling, and fixtures together
Choose components as a system. Reach and payload requirements must account for the complete end-of-arm arrangement and the intended motion, not only the workpiece.
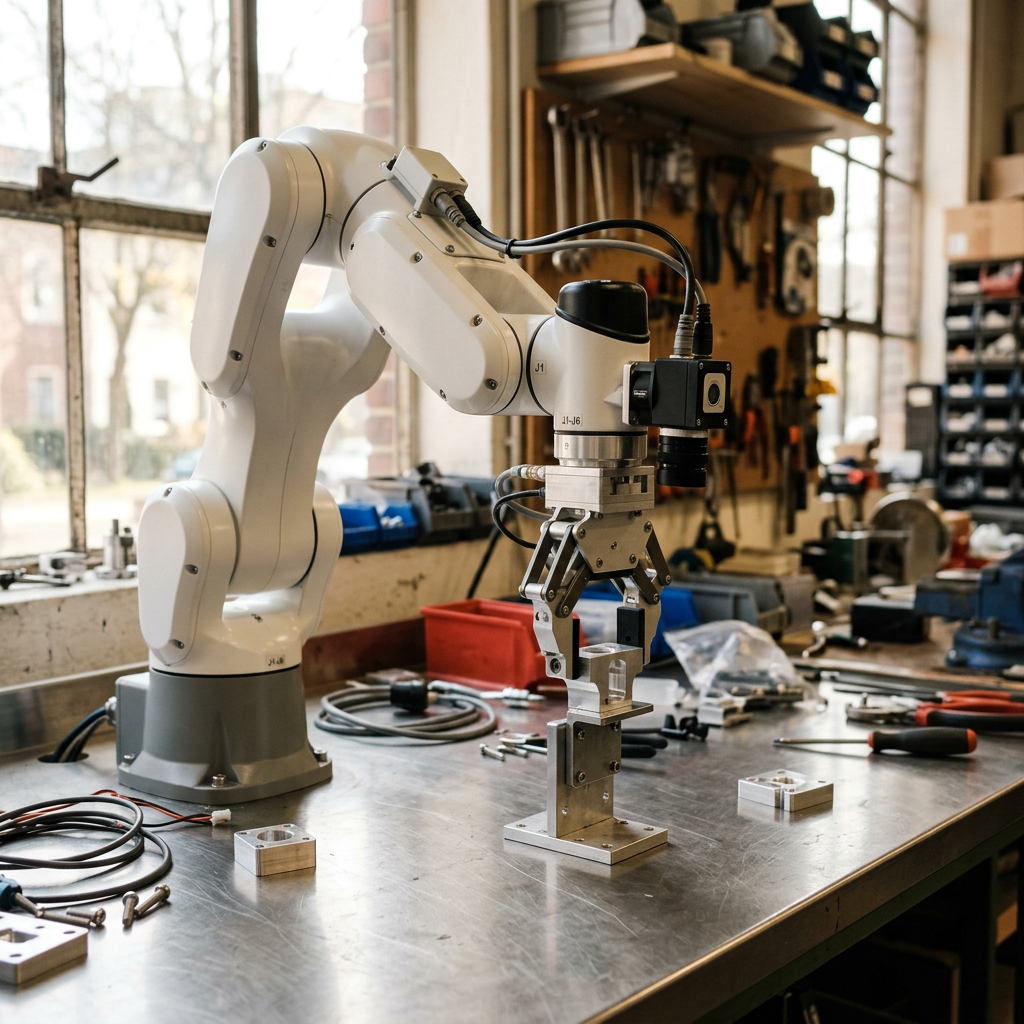
Tooling selection should consider grip suitability, part variation, surface condition, cable routing, and maintenance access. Fixtures often make a larger practical difference than adding software complexity: consistent presentation reduces uncertainty at pickup and placement.
Test awkward parts early
Use representative samples, including allowable variations and difficult orientations. Confirm that the proposed arrangement can approach the part, handle it, and release it without creating interference.
The wider smert.ai cobot integration offering combines application planning with equipment integration. Hardware decisions should follow the task requirements, not precede them.
Step 6: Define controls, data, and exception handling
Map every interface between the cobot station and surrounding equipment. Specify signals such as ready, cycle complete, fault, and permission to transfer a part. Define what happens when a signal is missing or delayed.
Keep operational controls distinct from safety-related functions, which need appropriate design and verification. Agree on access permissions, logging, backups, and network responsibilities with the site's IT and maintenance teams.
If computer vision is included, define it as detection or flagging for human review. Specify what gets flagged, who reviews it, and what happens while review is pending.
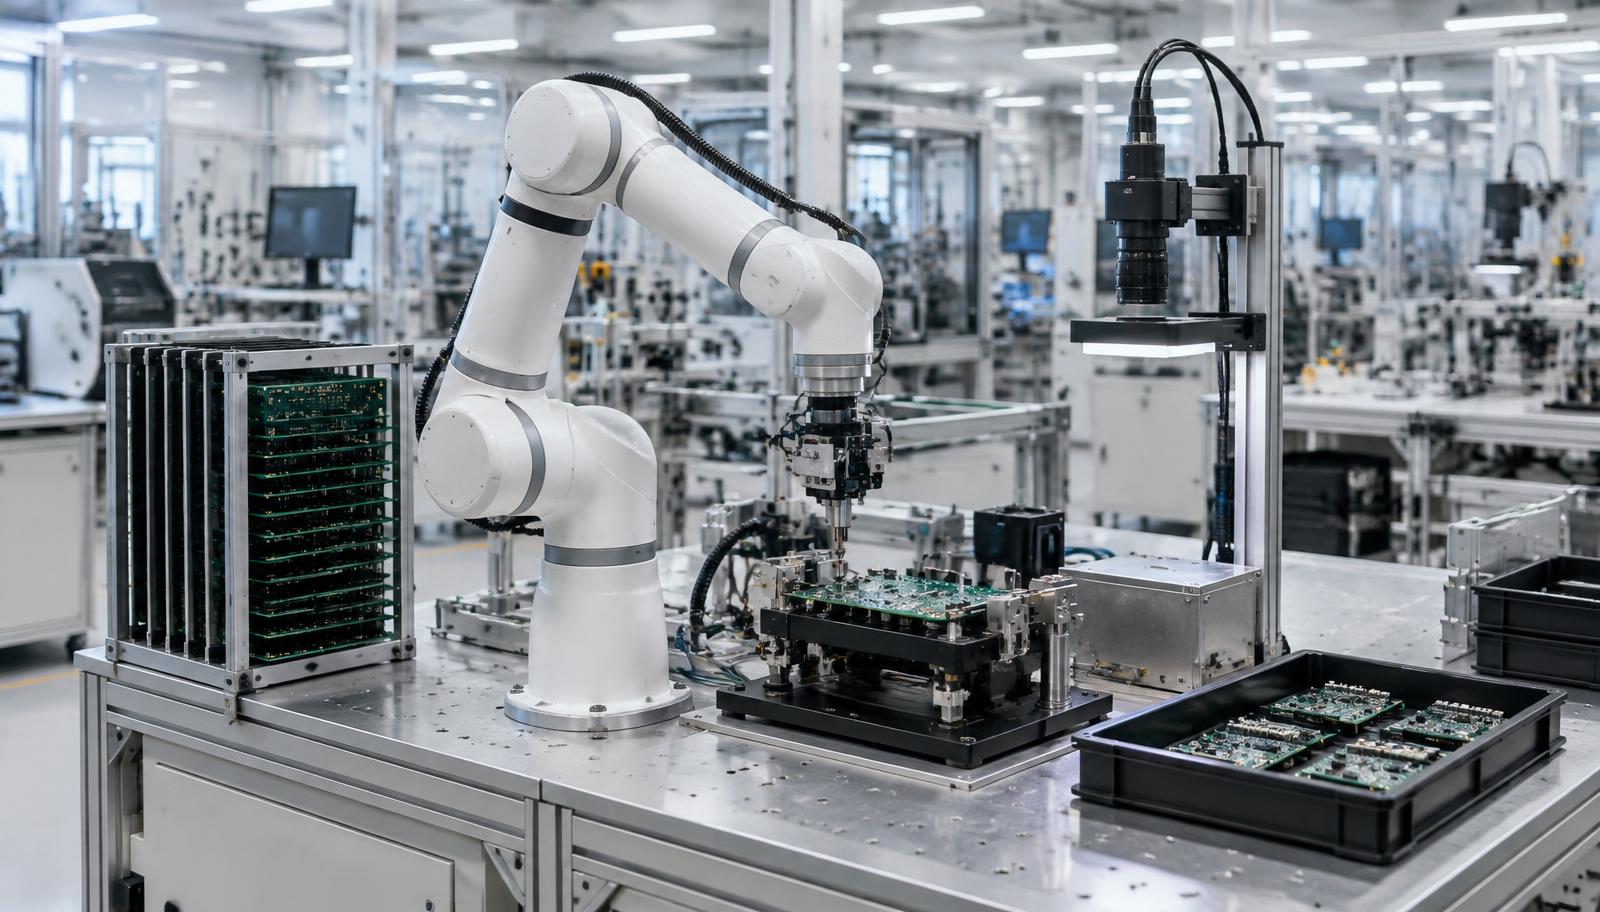
For electronics workflows, PCB test diagnosis integration provides a focused application context. Keep test-system results separate from visual flags and document the human review process.
Step 7: Build a representative proof of concept
A proof of concept should answer the highest-risk technical questions before the full installation proceeds. It is not a substitute for site validation.
Test using real or representative parts, realistic presentation, and relevant process conditions. A demonstration using perfectly arranged samples may conceal the handling problems found during production.
Record successful cycles and failure cases. Useful measures include cycle-time variation, intervention frequency, recovery time, and changeover steps. Note the conditions under which each result was obtained.
Finish with a decision record: proceed, revise the concept, or stop. If unresolved issues require an operator workaround, include that workload in the revised business case.
Step 8: Agree acceptance tests before installation
Define acceptance criteria jointly with production, engineering, maintenance, and the people responsible for safety. Avoid vague requirements such as “runs smoothly” or “easy to use.”
A practical test plan should specify:
- The parts and operating conditions to be tested.
- The observation period and measurement method.
- Required task results and acceptable intervention levels.
- Changeover and restart procedures.
- Fault scenarios, recovery checks, and approval responsibilities.
Where applicable, carry out factory acceptance testing before shipment and site acceptance testing after installation. A supplier-side test cannot confirm every condition at the final workplace.
Log deviations, assign owners, and agree which issues must be resolved before operational release.
Step 9: Install, train, and ramp up gradually
Schedule installation around production constraints and confirm readiness for utilities, access, equipment positioning, and network connections. Establish a fallback plan if commissioning takes longer than expected.
Train operators on normal operation, replenishment, approved changeovers, stop procedures, and escalation. Train maintenance staff on inspections, backups, component replacement, and permitted recovery actions.
Use observed practice rather than attendance alone to confirm that staff understand their responsibilities. Instructions should be accessible to the people using the station.
Start with a controlled production window and named support contacts. Expand use only after the agreed site checks and release requirements have been completed.
Step 10: Make go-live a documented handover
Go-live should transfer a supported process, not just installed equipment. Provide current drawings, software backups, operating instructions, maintenance schedules, spare-parts information, and the relevant assessment and verification records.
Agree on support hours, escalation routes, remote-access permissions, and responsibilities for third-party equipment. Identify who can approve program or tooling changes.
Review performance after launch against the original baseline. Investigate recurring stops and operator interventions before increasing complexity.
A good handover also defines change control. New parts, altered fixtures, or revised layouts may require additional testing and a renewed risk assessment.
FAQ
How long does cobot integration take?
Timing depends on task complexity, equipment availability, interfaces, and site readiness. A credible schedule follows the survey and feasibility work, with clear dependencies and acceptance milestones.
Can a cobot work beside operators without guarding?
Do not assume so. The per-site risk assessment determines the operating arrangement and protective measures for the complete application, including tooling, workpieces, and nearby machinery.
Can existing machinery be included?
Often, but feasibility depends on access, controls, documentation, and equipment condition. Confirm interfaces and responsibilities with the machine owner or supplier before committing to the design.
What should we prepare for an initial discussion?
Bring a process description, part samples or drawings, cycle-time observations, layout information, and known exceptions. Identify the production and maintenance staff who understand the workflow.
Ready to scope your cobot integration project? Contact smert.ai to discuss your task, site constraints, and the next practical step.
Related: Cobot integration
Transform Your Business with SMERT Robotics
Ready to experience the benefits of hospitality automation? Our team is ready to help you get started.